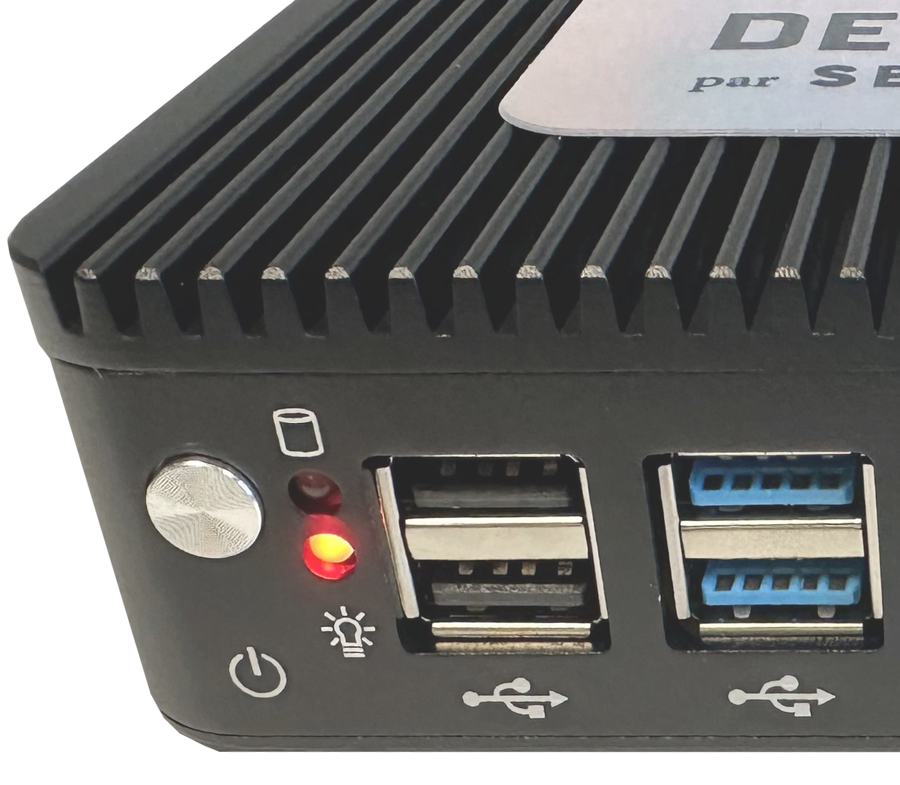
> For the complete documentation index, see [llms.txt](https://docs.serenicity.fr/detoxio/llms.txt). Markdown versions of documentation pages are available by appending `.md` to page URLs; this page is available as [Markdown](https://docs.serenicity.fr/detoxio/english-1/guides/detoxio-installation/detoxio-essential-installation.md).
# Detoxio Essential installation
## Step 1
Identify the SUID of the Detoxio on the back of the device.

{% hint style="info" %}
The list of SUIDs and their assignment is available in Serenicity Control from the [Reseller stock page](https://control.serenicity.fr/stock/resellers).
{% endhint %}
## Step 2
### The client does not exist
Create the client from the [device fleet page](https://control.serenicity.fr/fleet/admin) of Serenicity Control.
* Select a reseller
* Click on **Create a client**
* Fill in the client information
* Check the box **Create automatically the site and the Detoxio**
* Enter the public IP address of the client and the SUID of the box
### The client already exists
Navigate to the client from the [device fleet page](https://control.serenicity.fr/fleet/admin) of Serenicity Control.
* Click on **Create a site**
* Fill in the site information
After saving, you will be automatically redirected to the site page:
* Click on **Create a device**
* Fill in the device information
{% hint style="info" %}
This information can be changed at any time.
{% endhint %}
## Step 3
Connect the cable from the LAN interface of the firewall / router / box to one of the two Ethernet ports (LAN1 or LAN2).

## Step 4
Connect the cable from the switch / equipment / WiFi terminal to the second Ethernet port.

## Step 5
Connect the power supply. If the equipment was powered on before it was connected to the network, restart it (short press on the power button to stop, short press to start).
## Step 6
The network access is operational in less than 90 seconds after the equipment starts up. You can identify it on the local network thanks to its MAC address, which can be in the following formats:
* 00:90:xx…
* 88:EE:xx…
* 5E:DF:xx...
* D2:25:xx...
* 32:05:xx...
## Step 7
The technical contact of your reseller's form automatically receives an initialization e-mail from Detoxio a few minutes after its connection. This e-mail validates the configuration in Serenicity Control and the communication with the API.
## Step 8
Detoxio automatically downloads its resources and starts its update. This operation can take up to 30 minutes, **please do not disconnect the equipment during the operation**.
The status of Detoxio in Serenicity Control becomes  .
## Step 9
The status then becomes
 or
 .
If
 , please check if all the installation phases are validated in the Dashboard -> Settings -> Installation